Sep 13, 2011

Unique Nail Art Gallery

Here is a small collection of nail art from the country of Thailand.  The collection has some examples of free hand works and 3d style nail art.  Feel free to make a comment on these photos.

gold nail art

3d pink nail art

A few tips on the type of fingers and nails art design

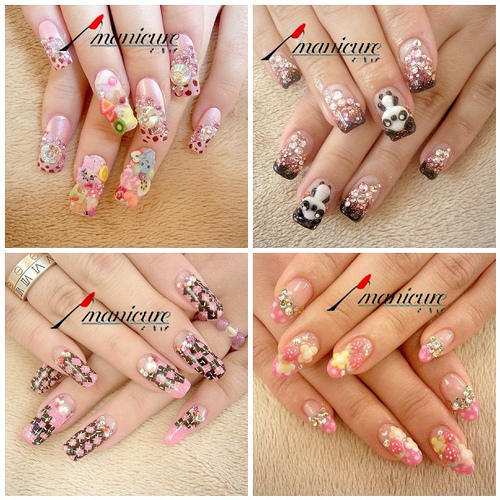
Many women have long nails and want a new shape on their nails. A few tips on the type of fingers and nails that look best with certain nail shapes are here.

For the short and chubby fingers, rounded nails will make the nails not only appear longer, but helps to elongate the fingers as well. Using a lighter colored nail polish will help aid in this process. Colors like light pinks, blues will create this appearance without changing the length of the nail if practicality means the nail cannot be longer.

A few tips on the type of fingers and nails art design
For long and thin fingers, a squared nail is the best look. This brings the fingers to an end, and will help the fingers to appear to be shorter as well as creates an overall professional look. This look is ideal for the sporty or on the go woman, as the squared edges are not easily snagged. Typing and office work is not as much of a hassle, because of the lack of capability of being pulled or broken.
A few tips on the type of fingers and nails art design

Women Nail art designs

Women Nail art designs


Women Nail art designs


Women Nail art designs


Women Nail art designs


Women Nail art designs


Women Nail art designs


Women Nail art designs


Women Nail art designs


Women Nail art designs

A LITTLE BIT CHRISTMAS


How to Draw Flowers on Nails: The Paint Job

  • To begin with, you will need to make a coat on your nail with a nail varnish. Make sure that this coat is extra smooth so that it will let your designs flow easily onto your nails.
  • The next step involves using your brush to make the outlines. For beginners, start with making few simpler designs or shapes. Try to make bubbles with circles or zig-zag lines and so on. Initially, you may find it difficult to grab the paint brush, but then try holding it in different angels and you will get to know which angle gives you the maximum grip.
  • While painting, do not immerse the brush head completely in the paint, just immerse it enough to wet the tip of it.
  • Once you have applied a coat of nail varnish your nail, let it dry. Once it is dried start painting.
  • To draw a flower, first, with your paintbrush dab at the center of your nail. Do not use a lot of paint because it may spill.
  • Next, choose what color petal you want. Once the color has been decided, use the paintbrush to make the petals of your flower. You will need to start from the center, from where you had dabbed earlier. As you go further from the center, apply a little pressure to make those petals thicker. The petals must be thicker towards the outer edge and relatively thinner from the center.
  • You can make four to five petals. It will come to you naturally, if you know how to draw flowers (which I am sure most of us do). Make sure that you do them neatly, and after every petal you make, let them dry so that the other petal which you will make must not bloat with it.
  • Once you have made your design and are happy with it, apply a top coat. This is the most important part as we want our design to be sealed.
And here you are, ready with your flower design. The paint job is effortless, after all we all know how to draw flowers. Repeat it for other the nails of your fingers or toes too. But remember to let the design be uniform on all of them. For better results, rest your hand/feet on a table to avoid shaky hands which can ruin your design. To make your nail art look more vibrant, make use of as much colors as you can, and use them differently. Also, it is good to keep nail varnishes of a variety of colors to match with your wardrobe.